Roman shades are everywhere today. All over Houzz, Pinterest and popular home magazines. Have you noticed though, that they don’t all look the same? If you are thinking about buying Roman Shades for your home – how to you get that gorgeous finished look you see in photos and not a rumpled mess that never looks quite right?
Over the past few years I’ve specified and installed many roman shades from many different workrooms and I’ll share with you some of what I’ve determined results in a great finished quality shade.
Fabric- You need a fabric with good body. Not too slippery and thin. If it’s slippery, it looks messy to me. I’ve found fabrics that have a natural fiber to their content do a good job for me. They hold their shape and they have a nice crisp look to them. This is not to say all synthetics should be avoided, just that the hand of a natural fiber usually insures a good finish.
Liner- A good liner goes a long way to giving that structure and crispness to the shade. There are two types of linings I use when ordering from a full custom workroom. Dim out foam backed liner, and Outblack room darkening liner. If your face fabric is thick, and you don’t need to sleep during the day in the space, the dim out liner is usually plenty sufficient. Outblack is a good choice with thinner fabrics, or when your face fabric has prints or decorative tapes so you can be certain to see the design during all light conditions. Also, of course, when darkness is desired. A detail to note about room darkening liners is that when they are pieced as the workroom sews through them they do allow a pin hole of light to leak out. This is considered standard. Some workrooms offer a putty of sorts that can be dabbed on the back to cover up those holes.
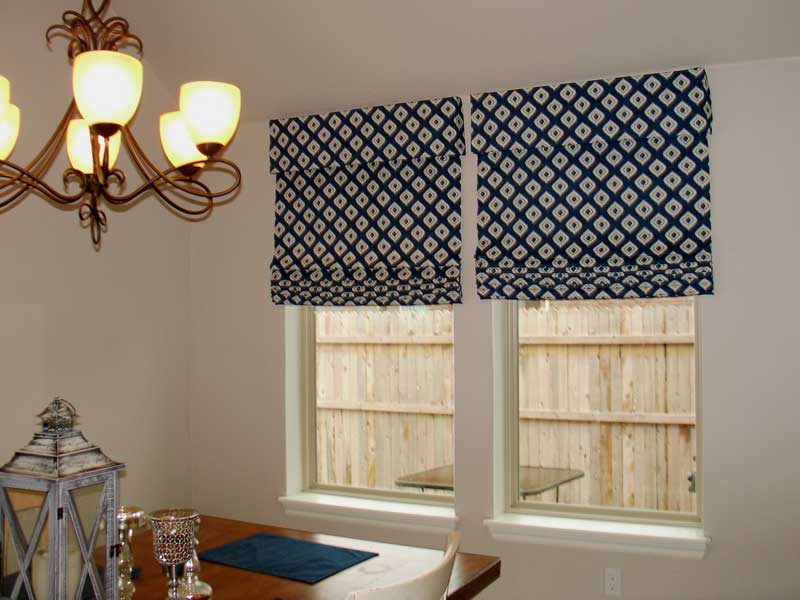
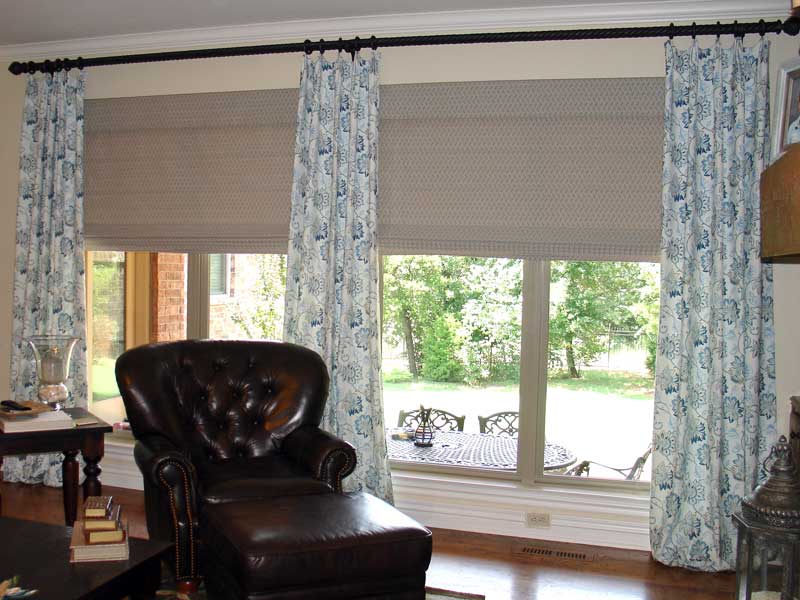
Style- There are many different styles to choose from, and as the product is custom, you should explore options with your consultant to find the best fit for you space. However, my favorite is a flat roman shade, with the fabric off the back of the board and a valance – usually 8-10″ off the front of the board. Flat style shades are great at showing off a patterned fabric. They look really nice when stacked up in the window. When you put a valance on the face of them, the treatment has enough depth that it does not look like you are hanging a sheet of the window.
Construction- This is a huge area that separates a roman shade that looks “eh” with a roman shade that look “Ah!”. Lift Mechanism: There are three types of lift mechanism’s. Cordlock, Rollease and Cordless.
Cordlock- As you raise the shade, the cord gets longer. This leaves you with a bundle of cords that need to be wrapped around a cord cleat hung on the window. These are the least child safe/ pet safe option. It is also typically the cheapest.

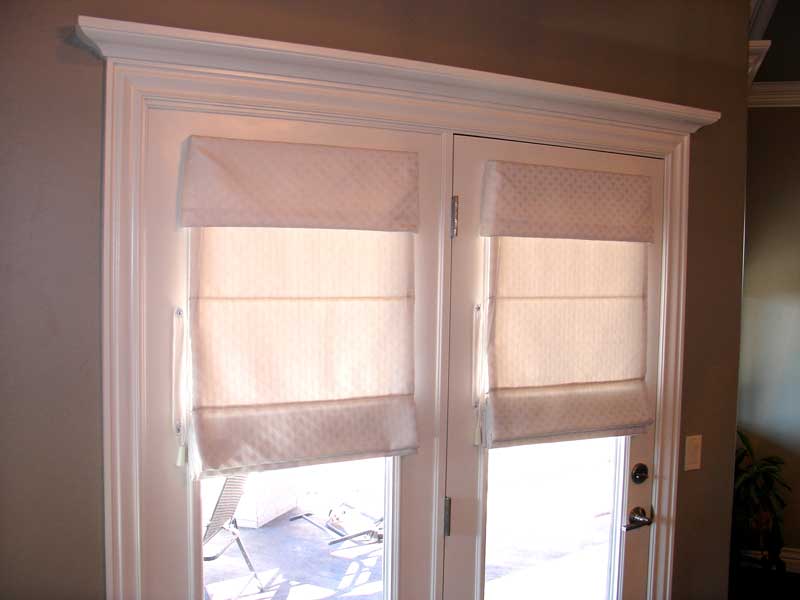
Rollease- A beaded looped chain stays the same length at all times, regardless of where the shade is positioned. This is my preferred system. It is available from most all custom workrooms. You can see the metal lift cord if you look to the outside of each shade on these doors below.
Cordless- A very nice system with no lift cords, different suppliers use different mechanisms. Typically a tensioned spring devise is used to hold the shade in place as you raise and lower it. This style of shade is usually only offered from larger scale, production workrooms. It does have some minimum and maximum limitations that can cause a little grief if you are trying to do several windows. This varies by supplier.

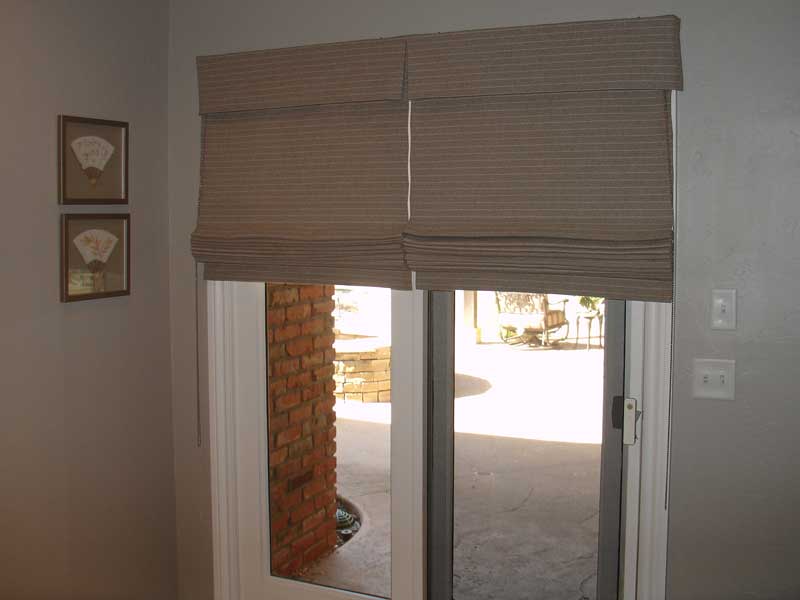
Construction Basics– Attention to detail and careful placement of the strings on backside of the shade contribute to the shade raising and lowering neatly and evenly. This is most critical in the placement of the strings on the outside edges.
In large shades, I like adding hidden rib tape. This tape is adhered on the backside of the shade (it doesn’t get sewn through thus interrupting the pattern) with an adhesive and again, especially on a larger shade it helps the shade raise and lower neatly. A word of caution- if your fabric is thin, and you don’t want to “see” those ribs as the light shines through the lowered shade – chose a blackout liner.
I also prefer a lined valance as opposed to a self lined valance. Again- I don’t want to see a bleed through of pattern with light coming through it so using actual liner (not just folding the fabric over on the valance) helps with that problem.

When possible, I recommend using a local workroom. Some of the nuances of fabric just can’t be predicted, and if your window treatment supplier has a relationship with a local workroom, the communication and execution just seems to go so much smoother. Plus- you are contributing to your local economy!
If you need help with quality Roman Shades, give us a call at 405.509.5164 or fill out the form here
